Your Guide to Easy Homemade Ice Cream: Rich Flavors, No Machine
Picture this: a sun-drenched afternoon, a spontaneous craving for something cool, creamy, and utterly indulgent. The thought of battling traffic to the store or wrestling with a bulky ice cream maker might make you sigh, but what if we told you that the secret to the most delicious easy homemade ice cream lies right in your kitchen, requiring no special equipment?
For years, making ice cream at home seemed like a culinary Everest – an admirable feat, but one fraught with complexity. Visions of clunky machines, rock salt, and endless churning deterred many. Yet, the desire for that pure, unadulterated joy of a homemade scoop persisted. This article will demystify the process, showing you how to achieve incredibly rich, creamy homemade ice cream with minimal effort and absolutely no machine. Prepare to unlock a world of spontaneous dessert creations that will delight your family and guests, all with ingredients you likely already have on hand.
The Magic Behind No-Machine Homemade Ice Cream
The concept of making ice cream without a machine might seem counter-intuitive. After all, isn't the churning process essential for that signature creamy texture? While traditional ice cream makers work by slowly freezing and continuously stirring the mixture to break up ice crystals and incorporate air, the no-machine method achieves a similar luxurious consistency through a clever combination of ingredients and technique.
The genius of this secret to rich homemade ice cream lies in leveraging high-fat ingredients and strategic aeration. By whipping heavy cream to stiff peaks, you're introducing a significant amount of air, which provides lightness and volume. Sweetened condensed milk, the other star player, contributes not only sweetness but also a unique creaminess and a lower freezing point due to its sugar content, helping to prevent the formation of large, icy crystals. This combination creates a base that freezes beautifully into a smooth, scoopable treat, mimicking the texture of churned ice cream without the need for constant agitation. It’s an "old fashioned homemade ice cream without machine" approach revitalized for modern convenience.
Essential Ingredients for Your Creamy Creation
One of the most appealing aspects of this no-machine method is its simplicity, often requiring just a handful of core ingredients. To create your perfect homemade ice cream base, you'll primarily need:
- Heavy Cream (or Whipping Cream): This is non-negotiable. With a fat content typically above 36%, heavy cream whips up beautifully, trapping air and providing the necessary richness and body. Aim for cold cream for optimal whipping.
- Sweetened Condensed Milk: This magical ingredient does double duty, acting as both the primary sweetener and a key textural enhancer. Its thick, syrupy consistency and high sugar content are crucial for achieving that smooth, non-icy mouthfeel.
- Vanilla Extract: Even if you're planning a different flavor, a good quality vanilla extract provides a foundational warmth and depth that elevates any ice cream.
- A Pinch of Salt: Often overlooked, a tiny bit of salt balances the sweetness and enhances all the other flavors, much like in baking.
- Your Chosen Flavor Boost: This is where the real fun begins! From cocoa powder for chocolate to fruit purees or coffee, your fifth "ingredient" transforms your base into your dream dessert.
While some traditional no-machine recipes might incorporate whole milk and sugar, the method relying on heavy cream and sweetened condensed milk is arguably the easiest and most consistently delivers a rich, creamy no machine ice cream.
Step-by-Step Guide to Your Easiest Homemade Ice Cream
Ready to get started? Making easy homemade ice cream without a machine is incredibly straightforward. Here’s how:
- Chill Your Equipment: For best results, place your mixing bowl (preferably a metal one) and whisk attachment (if using an electric mixer) in the freezer for 10-15 minutes before you begin. Cold equipment helps the cream whip faster and more effectively.
- Whip the Cream: Pour your cold heavy cream into the chilled bowl. Using an electric mixer (handheld or stand mixer) or a strong whisk, whip the cream on medium-high speed until it forms medium-stiff peaks. You want it fluffy and voluminous, but not so stiff that it looks curdled. This step is critical for incorporating air.
- Combine the Base: In a separate bowl, gently whisk together the sweetened condensed milk, vanilla extract, and a pinch of salt until well combined.
- Fold in Flavors: If you're adding a flavor like cocoa powder or coffee powder, whisk it into the condensed milk mixture first. For fruit purees or other liquid flavorings, you'll add them with the condensed milk.
- Gently Fold Together: Pour the condensed milk mixture into the whipped cream. Using a spatula, gently fold the two mixtures together until just combined. The key is to be careful not to deflate the whipped cream, as that air is essential for the light, creamy texture. Stop folding as soon as no streaks of condensed milk remain.
- Transfer and Freeze: Pour the mixture into a freezer-safe container (a loaf pan, a plastic airtight container, or even a glass dish works well). Cover the surface directly with plastic wrap to prevent ice crystals and freezer burn, then secure the lid if your container has one.
- Patience is Key: Freeze for at least 6-8 hours, but ideally overnight, until firm.
And that’s it! In just a few simple steps, you've created decadent creamy homemade ice cream ready to enjoy.
Unlocking a World of Flavor Variations
The beauty of this secret to rich homemade ice cream base is its incredible versatility. Once you've mastered the basic technique, the possibilities for flavor combinations are endless. Here are some ideas to spark your creativity:
- Classic Vanilla Bean: Enhance your vanilla with a scraped vanilla bean or a teaspoon of high-quality vanilla bean paste for visible specks and intensified flavor.
- Decadent Chocolate: Whisk in 1/2 cup of unsweetened cocoa powder into the condensed milk mixture. For extra indulgence, fold in 1/2 cup of melted, cooled chocolate or chocolate chips at the end.
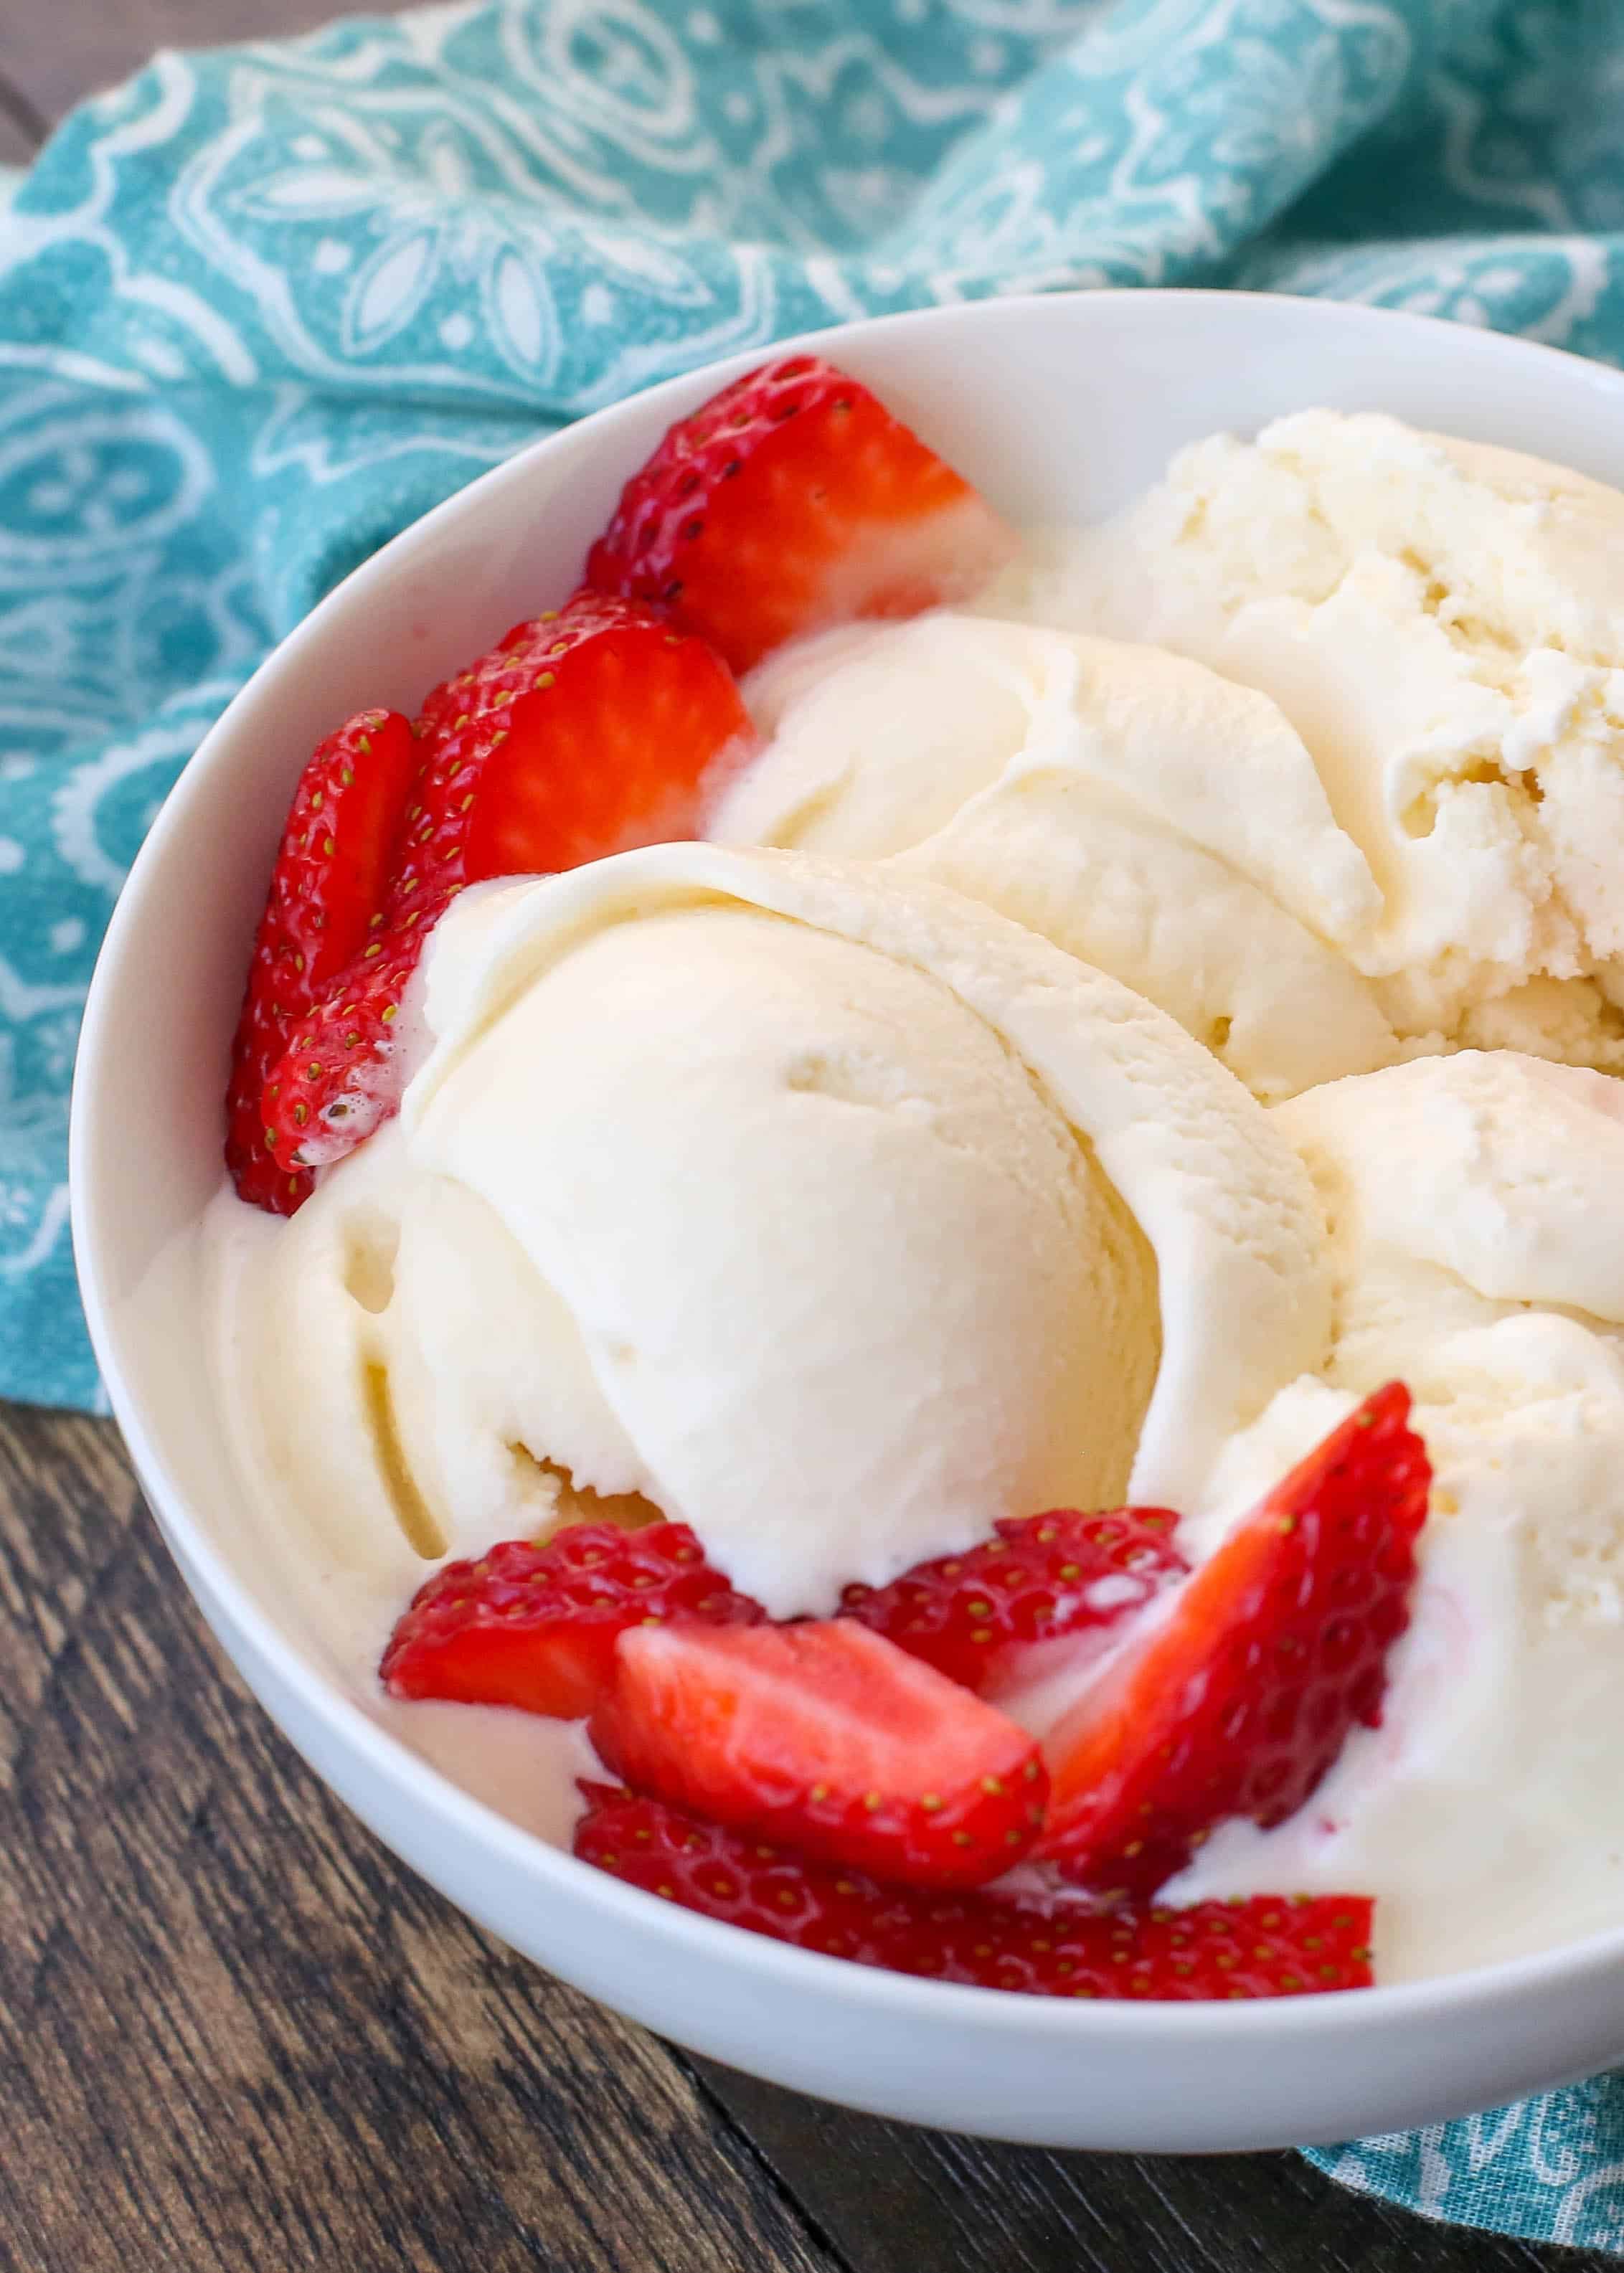
- Fresh Fruit Swirls: Puree fresh berries (strawberries, raspberries, blueberries) or peaches, sweeten lightly if desired, and gently swirl into the ice cream mixture just before freezing.
- Coffee or Espresso: Dissolve 1-2 tablespoons of instant espresso powder or strong instant coffee in a tablespoon of hot water, let cool, then mix into the condensed milk.
- Nutty & Indulgent: Fold in chopped nuts (pecans, walnuts), peanut butter swirls, or toasted shredded coconut.
- Cookie & Candy Crunch: Crush your favorite cookies (Oreos, chocolate chip, graham crackers) or candy bars and fold them into the mixture.
- Boozy Bliss: A tablespoon or two of a liqueur (like Kahlúa, rum, or Grand Marnier) can add a sophisticated flavor and also help keep the ice cream softer due to the alcohol's lower freezing point.
Don't be afraid to experiment with seasonal ingredients, spices like cinnamon or cardamom, or even a hint of citrus zest for brightness. Your homemade ice cream will always taste better when made with love and your favorite flavors.
Tips for Perfect Texture and Storage
While the no-machine method is incredibly forgiving, a few expert tips can elevate your homemade ice cream from great to extraordinary:
- Preventing Ice Crystals: Beyond the magic of sweetened condensed milk, ensuring your container is tightly sealed (with plastic wrap pressed directly onto the surface before the lid) is crucial to prevent moisture from evaporating and forming crystals.
- Don't Over-Whip the Cream: Stiff peaks are good, but over-whipping can lead to a grainy texture. Stop as soon as the cream holds its shape.
- Gentle Folding: Maintain that precious air! Use a light hand when folding the condensed milk into the whipped cream.
- Quick Freeze: The faster your ice cream freezes, the smaller the ice crystals will be. Place it in the coldest part of your freezer.
- Softening Before Serving: Take your rich homemade ice cream out of the freezer about 5-10 minutes before you plan to serve it. This allows it to soften slightly, making it easier to scoop and enhancing its creamy texture.
- Proper Storage: Store your easy homemade ice cream in an airtight container in the coldest part of your freezer for up to 1-2 weeks for optimal freshness and texture. Beyond that, it might start to develop more ice crystals.
- Pairing Perfection: This creamy homemade ice cream is fantastic on its own, but also heavenly paired with warm desserts like a peach crisp, apple pie, or alongside chocolate chip oatmeal bars, as seen in many nostalgic family recipes.
There's an undeniable joy in creating something delicious from scratch, especially when it brings back memories of sun-soaked afternoons and shared laughter. Making homemade ice cream without a machine isn't just a recipe; it's an invitation to spontaneous celebration, a simple pleasure that elevates ordinary moments. So go ahead, gather your ingredients, whisk up some magic, and prepare to indulge in the surprisingly easy, utterly rich, and always delightful experience of homemade ice cream.
